ChannelBuddy is a free feed management tool that allows you to efficiently and effortlessly manage your product feeds. With ChannelBuddy, you can easily keep track of the status and data updates on all major channels. This helps you gain long-term visibility and increase sales opportunities on key platforms. To have even more access and functionality, you can also secure the premium version.
This article will guide you through the first steps of using ChannelBuddy, from data integration to feed creation.
These steps can be divided into three main parts:
- Importing articles into ChannelBuddy,
- Creating feeds for respective channels,
- Connecting ChannelBuddyfeeds to the respective channels.
Note: Before you begin importing data into ChannelBuddy, make sure you have connected your data source. If you haven’t configured your data source during registration, you can do so in the setup or make adjustments later. Detailed instructions can be found here (link).
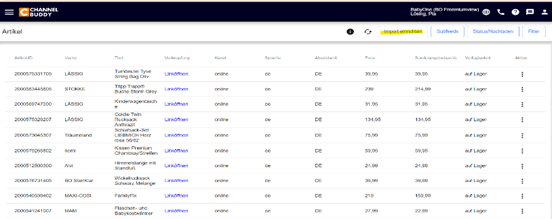
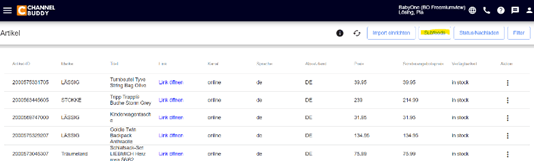
- Importing articles into ChannelBuddy
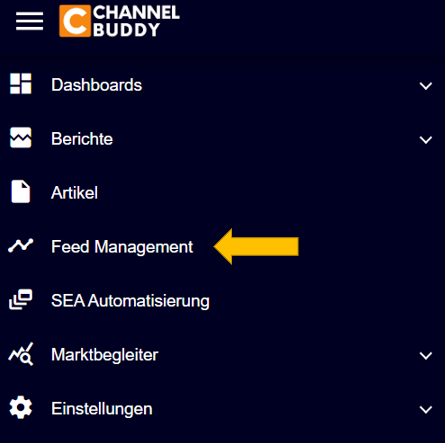
To import your articles into ChannelBuddy, you need to match the fields from your data source with our fields. You can do this in the „Articles“ section, which you can access through the menu on the left-hand side. Click on the „Set up import“ button.

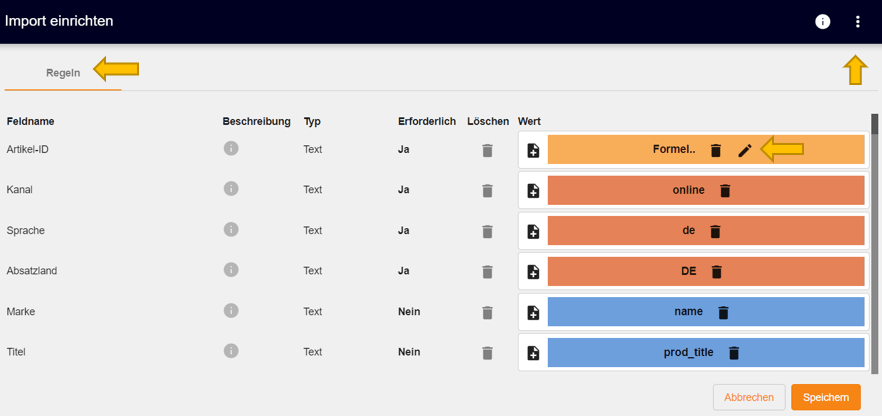
A window will open in the „Rules“ tab, where you can create your mapping and enter your data according to your specific needs. On the left side, you will see the field names required in ChannelBuddy. Additionally, you will see the „Description“ and „Type“ – whether it’s text or a number, and whether the field is required. Required fields help ensure the uniqueness of the articles.
–> With ChannelBuddy, you can manage your articles across multiple countries, languages, and channels.
–> Therefore, the uniqueness of an article is determined by the article ID, channel, content language, and target country.
–> On the right side, in the orange field, you can modify „Formulas“ by clicking on the pencil icon.
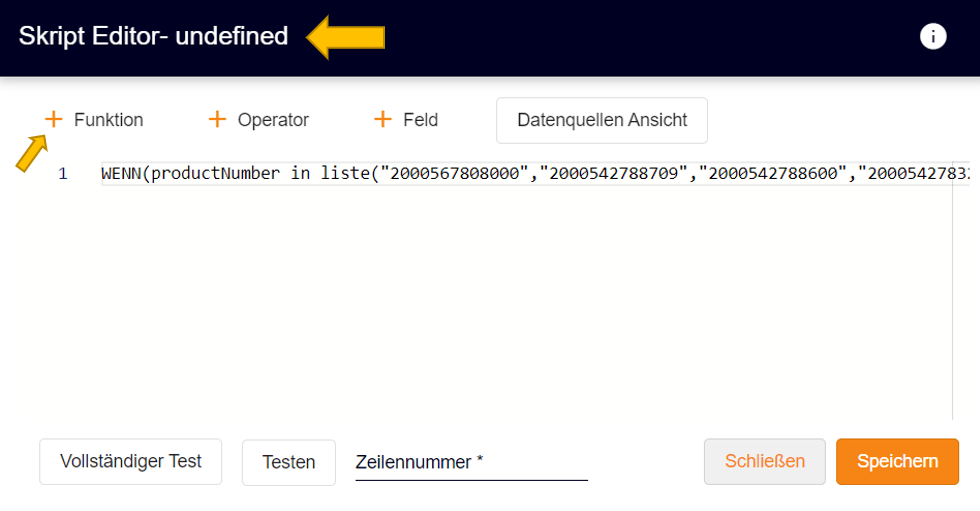
– Now the script editor opens.
– Here you can quickly and easily customize your feed.
– You can also create a function or nest multiple functions within each other.
– The result will affect the entire column where the function is inserted. Example of a script editor: IF(title =, „empty title“, title).
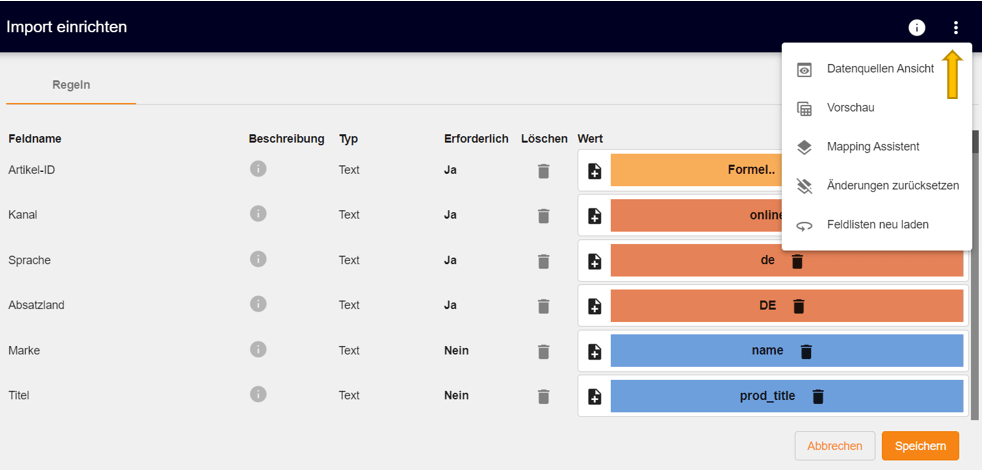
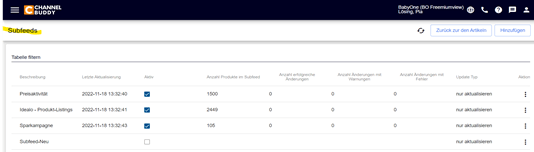
– With subfeeds, you can quickly and easily revise or supplement your existing main feeds.
Note: Subfeeds cannot be used as the main data source.
– Under „Add,“ you can add existing subfeeds or create new subfeeds.
– Your subfeed needs a name that you can choose individually.
Note: Your subfeed must be meaningful to easily identify the feed.
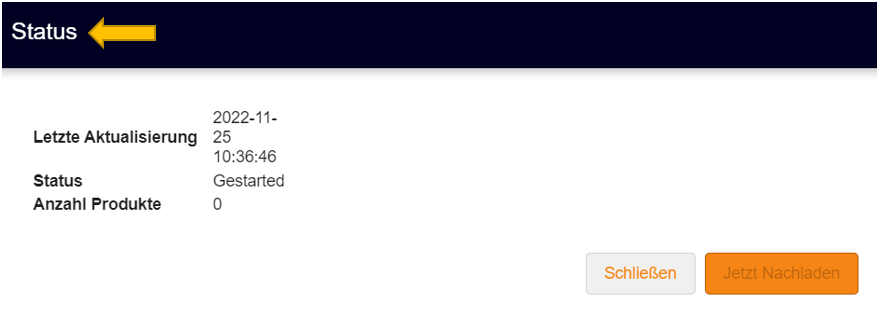
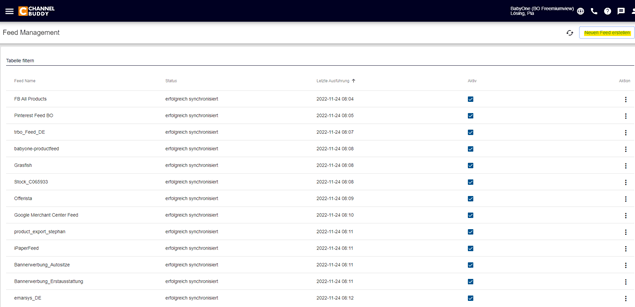
Under the „Status“ function, you can see when the last update occurred and the number of your products. (If you have any further questions, click on the link now).
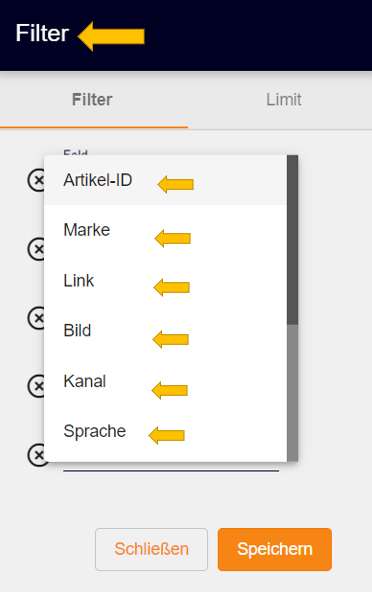
– Using the „Filter,“ you have various options to select different areas.
– Clicking on the small gray arrow will open a new window.
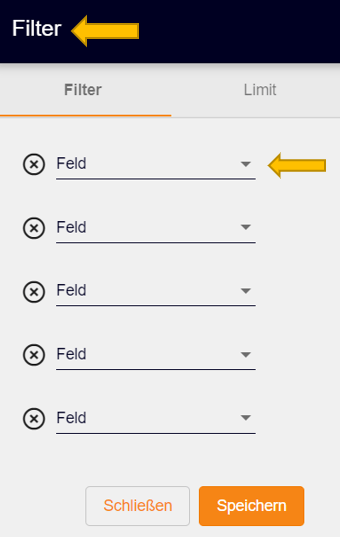
– Here you can filter under different categories (Article ID, Brand, Link, Image, Channel & Language).
2. Creating a new Feed:
– Under „Feed Management,“ you can easily create a new feed.
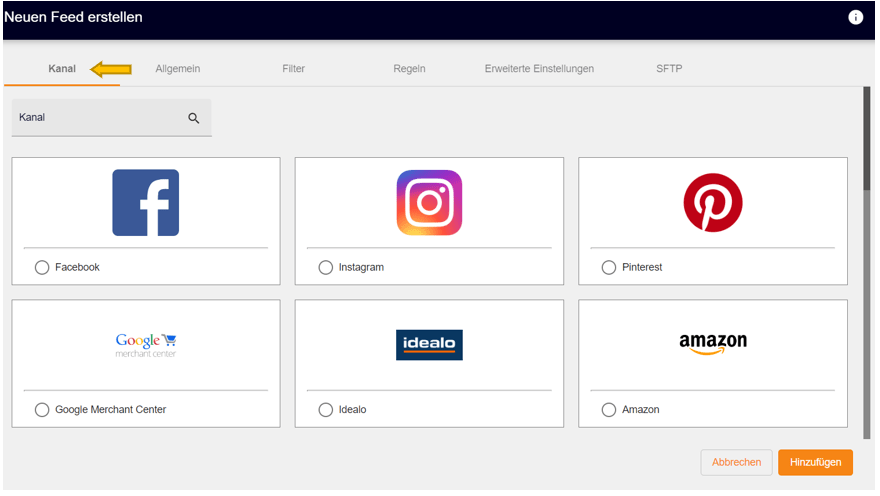
– Next, you need to select a channel where your feeds will be displayed.
– There are additional channels not visible in the image.
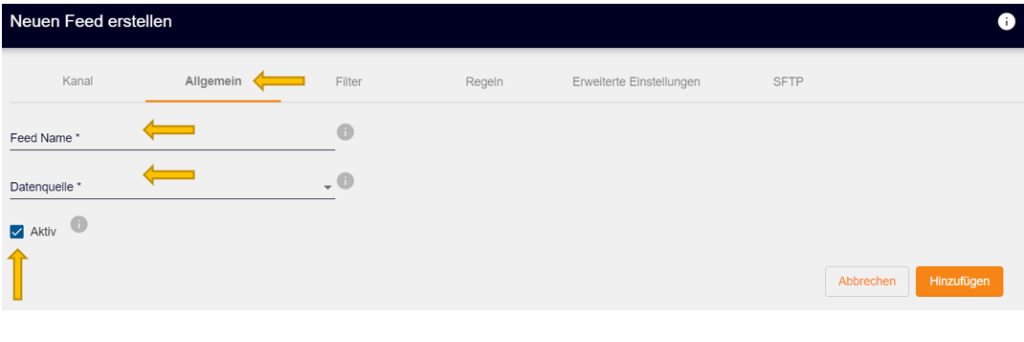
– In the „General“ category, you need to choose a „Feed Name“ that you can come up with individually.
– You also need to select a „Data Source.“
– Note: Click on the small checkbox to activate your feeds.
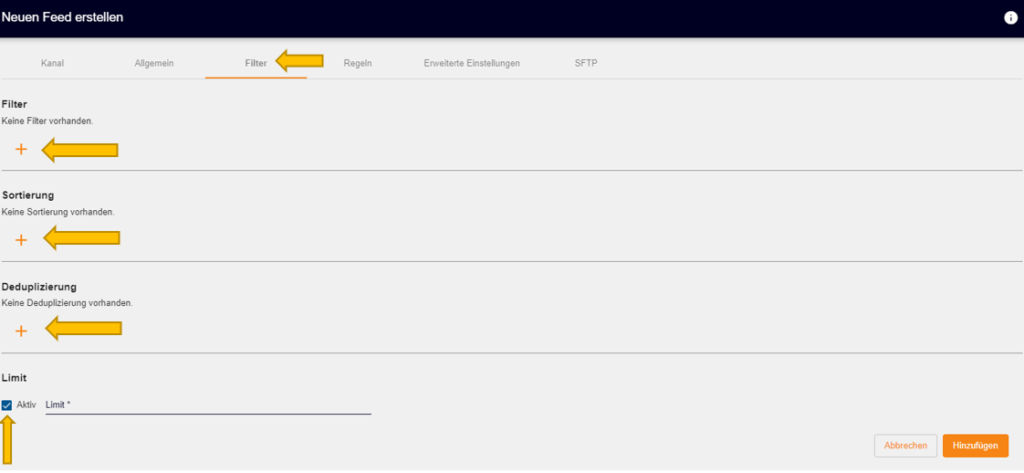
– In the „Filter“ category, you can make selections in the areas of Filter, Sorting, Deduplication, and Limit by clicking on the orange plus sign.
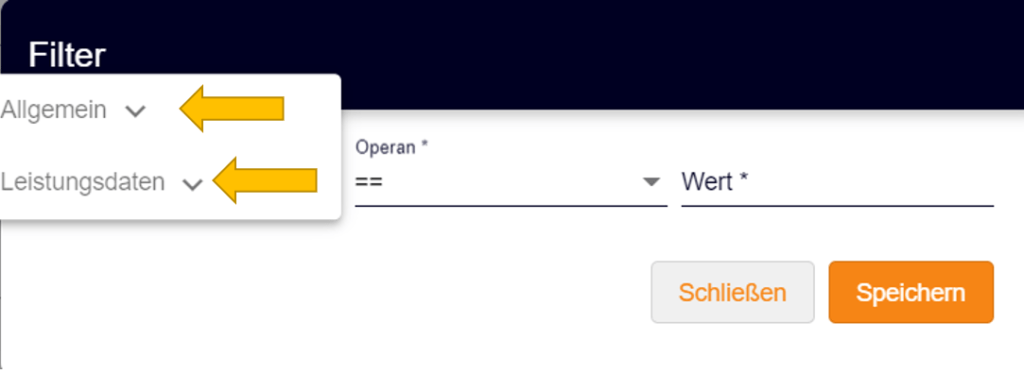
– This window appears when you click on the plus sign of „Filter.“
– You can sort both in the „General“ category and the „Performance Data“ category.
– In the „General“ category, you will find the following options: Article ID, Channel, Language, Sales Country, and Brand
– In the „Performance Data“ category, you will only find the option: MPI Exact.
– There are more options available for sorting, which you will discover when you click on any of the fields (Filter, Sorting, Deduplication, and Limit).
– Once you have finished making your selection, always press „Save„
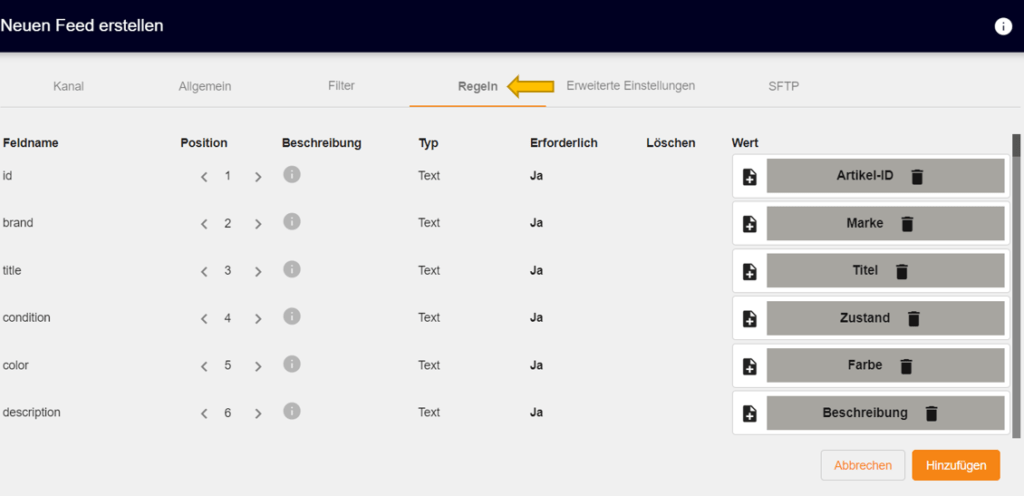
– Under „Rule,“ you can view the following options: Field Name, Position, Description, Type, Required, Delete, Value.
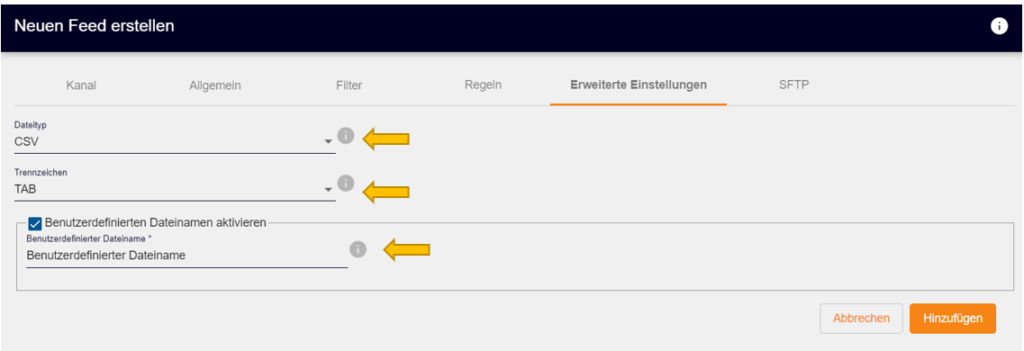
In the advanced settings, you need to select a file type and delimiter.
– After that, you need to enable the „Custom File Name“ and click on „Add“ every time.
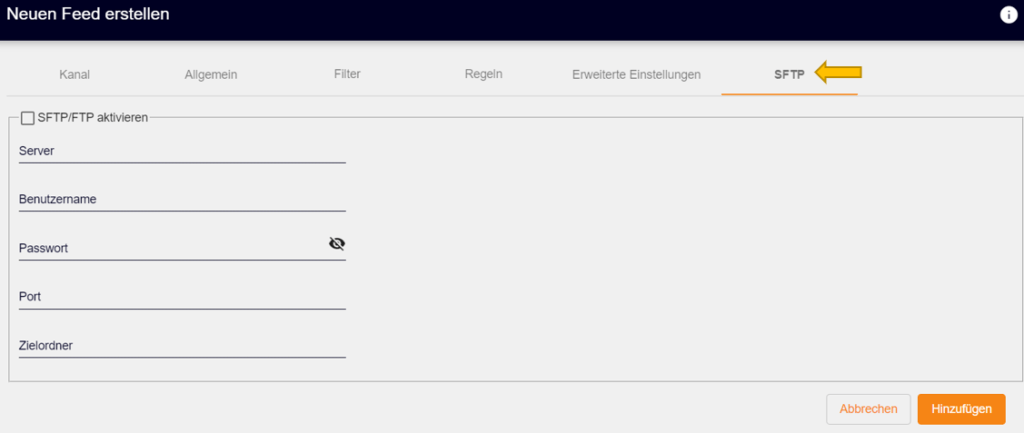
– Finally, you can enable „SFTP/FTP“ by entering the server, your username, the corresponding password, the port, and the destination folder, and clicking on „Add.“
– Note: SFTP (Secure File Transfer Protocol) is a file transfer protocol used to secure invoice and financial data or files.
Todo: Create feed (via Action menu -> Run Feed); Retrieve feed (via Action menu -> Go to Feed)
3. Connecting ChannelBuddy Feeds to Respective Channels
You’re almost there! Now you just need to connect the feed to the respective channel. To do this, please switch to the corresponding account (for Meta, it’s the Commerce Manager, for Google, it’s the Merchant, etc.). You can find more information on how to integrate the feed into the respective channels in our blog posts and additional help resources.
Conclusion:
ChannelBuddy helps you keep track of the status and data accuracy of your feeds on all relevant channels. It provides long-term visibility and sales opportunities on major platforms, allowing you to remain competitive and thrive in the market!
ChannelBuddy has so much more to offer, so stay tuned for the upcoming blog articles and continue learning to generate successful online sales!!!
Weiterlesen: Getting started with ChannelBuddy
Neueste Kommentare