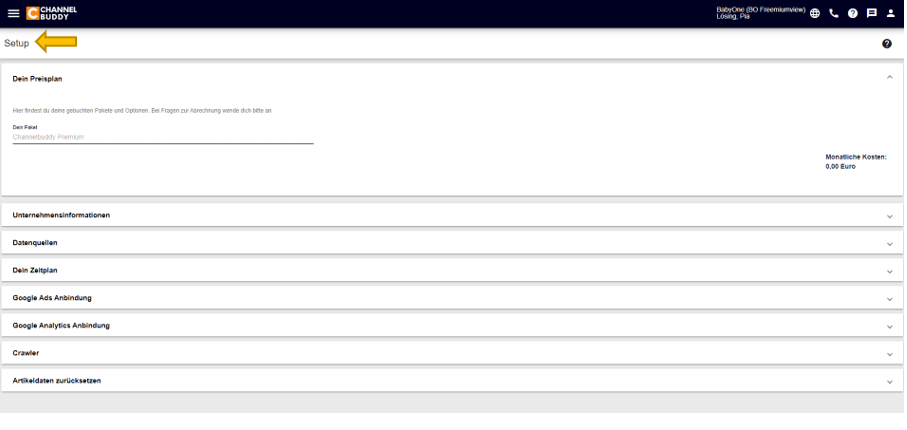
Using the setup, you can make basic settings. There are different sections within the setup where you can filter.
- Your pricing plan: Here you can find your booked packages and options.
- Company Information: Here you can enter your company name and contact details.
- Data sources: Here you can select your data source to load your items into ChannelBuddy.
- Schedule: Using the schedule, you can plan the automatic processing of your feeds. You can set times for loading items from the data source and times for distributing feeds to the respective sales and marketing channels.
- Google Ads integration: To use SEA automation, you need write access to your Google Ads account. You can enable this here by granting write access to google@solutions4performance and your account ID.
- Google Analytics integration: For using performance reports and performance-based distribution of your feeds and search ads, you need access to Google Analytics. You can enable this by granting write access to google@solutions4performance in Google Ads. After that, you just need to enter your Google Analytics View ID.
- Crawler: Here you can make settings for price monitoring.
- Reset Articles data: Here you can delete your item master data and their price history.
Neueste Kommentare